But this does come with one challenge that is not something that most modellers have to contend with. How on earth do you pack up and dispatch the finished model, which in most cases is a very delicate item, to a customer who may be the other side of the world, without it getting destroyed, or at least seriously damaged, at the hands of a merciless (or at least thoughtless) courier who hasn't spent many hours and days of their time working on it and thus doesn't have any investment in seeing it delivered in one piece.
I have had a number of enquiries recently about how I ship my models. Let me state up front that where possible, I do try to agree a personal handover/collection with my customer to eliminate the risk. But of course, this only works if they are relatively nearby and a mutual meeting can be arranged. For the majority of my builds this is not an option, indeed in my time I have shipped to literally all corners of the globe and continue to do so.
In the early days, my packing methodologies were a little hit and miss, it took me some time to settle on a method that I have now been using for many years. And I am pleased to report that it has proven highly successful, with a (virtually) unblemished record. But I can state with confidence that on the rare occasion anything has broken, it has always been very minor and simple for the customer to fix. It would be an arrogance to assume that any method is infallible, especially if the package receives unduly harsh treatment. But what I am about to describe does appear to reliably protect my models from being bounced around in a van, flung in and out of an aircraft, and undoubtedly encountering the odd bout of high altitude turbulence as well.
Packing any delicate item safely involves two key elements. Firstly to ensure sufficient protection from external shock waves reaching the model, and secondly to ensure that those which do, do not cause a differential stress across joints or weak points in the model that may result in breakage. The first is basically a matter of as much depth of shock absorbing material around the model as possible and the second is about ensuring that the model is contained in a medium that tightly envelops it in all nooks and crannies to stop it bending. You can't stop a shock reaching the model, but when it does it is important that the whole model moves together as a result, and thus isn't stressed.
There is another, conflicting factor however. Couriers generally charge their services based on a "volumetric weight" which has little to do with the actual weight of the package, but is basically related to it's overall volume (i.e. size). So keeping the package size down whilst still maintaining sufficient protection is important - especially these days when international shipping is so expensive.
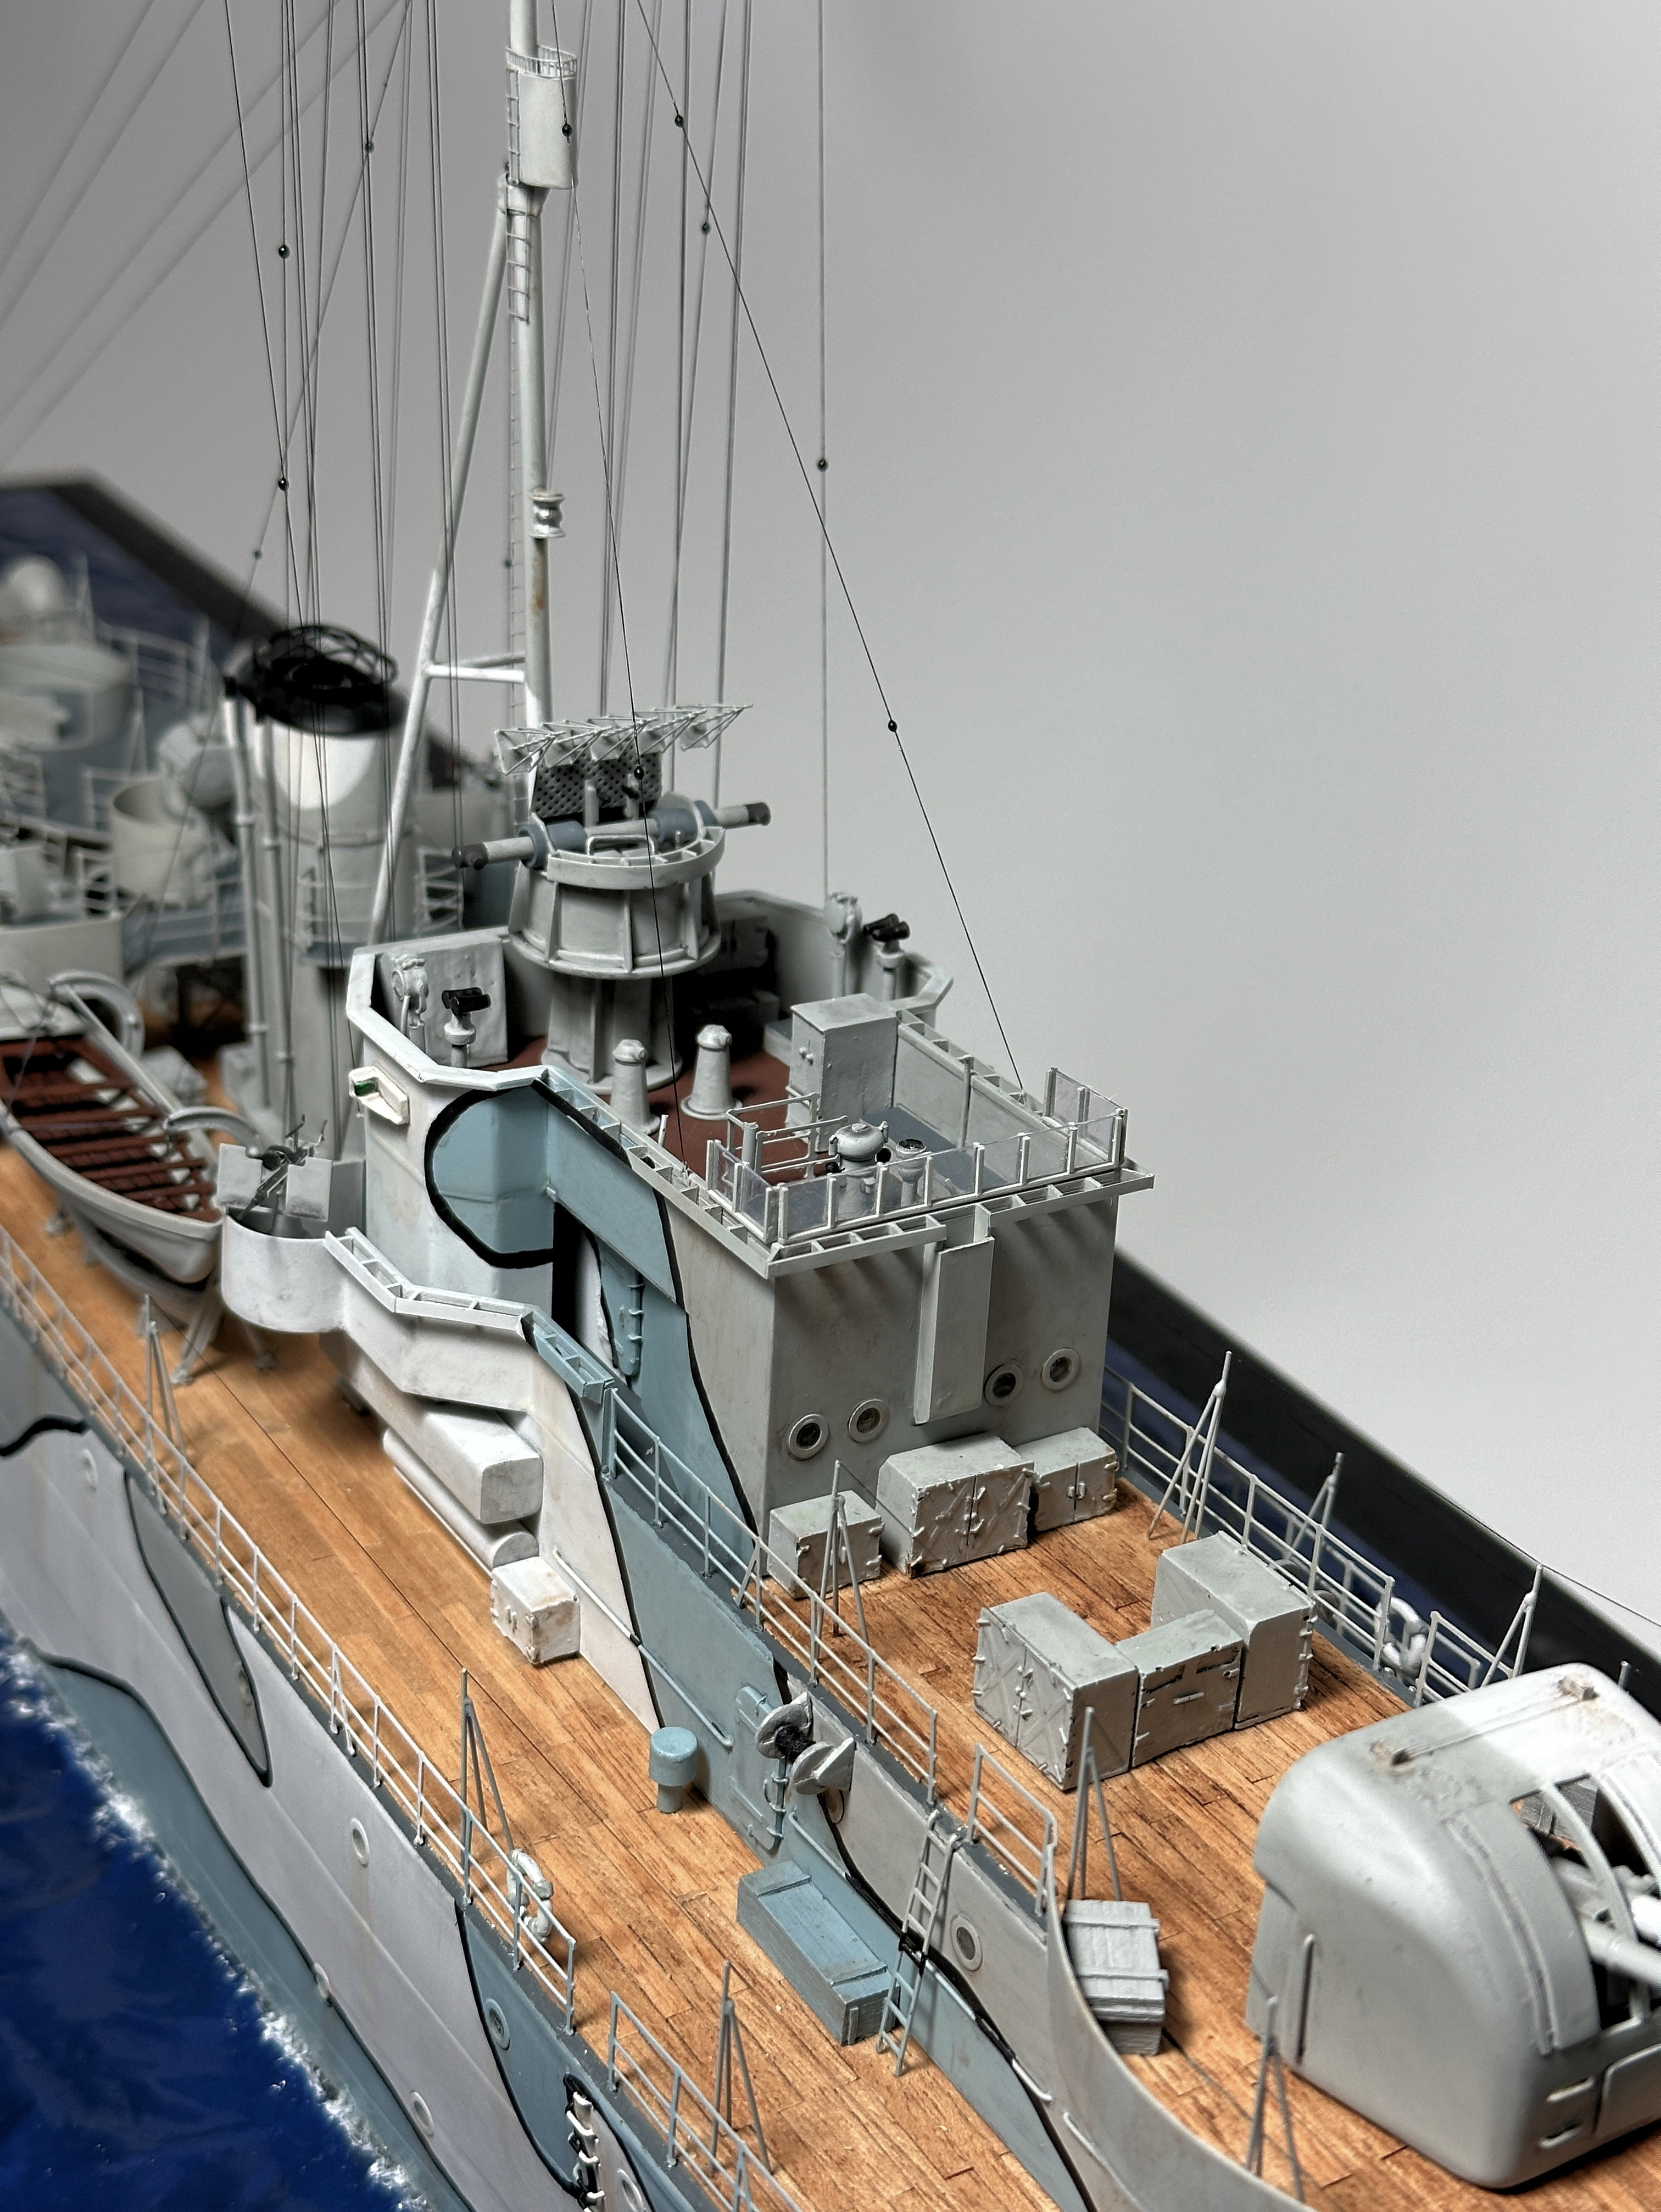
So, on to the detail! For the purposes of this example, I have used an aircraft model (which make up the majority of my builds) in this case a 1/32 scale Tamiya Mosquito (see the original build here). The basic methodology does, however, apply just as well to pretty much any subject matter.

Point of note. Try to ensure a few days delay before packing a model after completing it. The varnish/paint coats may appear and feel perfectly dry but even "quick drying" finishes do need days to properly cure. Packing a model soon after applying a finish coat could be dangerous and result in irreversible damage to the finish, especially since en-route it could be subject to extremes of temperature and humidity.
The first task is to prepare the model itself. This involves using soft tack masking tape to secure any loose, movable or particularly weak areas, such as removable canopies, cowlings, props etc. Next fill any small nooks (e.g. wheel bays, bomb bays) with soft tissue paper - this is important as I will be using packing beads later which will be a real pain to remove from these areas when extracting.
The next task is to find (or create) a strong cardboard box that is just large enough to contain the model, and constructing a flat base board (usually from 3 or more sheets of double ply cardboard glued together) that fits neatly into the bottom of it. This is the board on which the model will be secured. Nipping a corner off this board will assist in placing it in the box.
Mounting the model on this board is achieved by using foam pillars (I buy in large bags of offcuts for this purpose) cut to size and glued to the board. These pillars should support the model in three or more places, carefully avoiding protrusions. With an aircraft model, this is usually one pillar under each wing and under the fuselage near the tail (or under the tail itself) and for larger models, one under the nose as well if possible and anywhere else that feel appropriate to securely support the model. The pillars should be high enough to ensure the undercarriage (which is usually one of the breakage risks) is lifted off the base board, indeed there should be no direct contact between the base board and any part of the model except via the foam pillars. Once you are happy with the structure of the foam pillars, set the model aside and glue them in position on the base board.
The model will need to be strapped down on the pillars and so make appropriate holes in the base board through which you can thread some string for as many "straps" as you deem appropriate. Again, one associated with each foam pillar is ideal, if possible. Thread the straps through the appropriate holes before placing the model, makes life a lot easier! I use folded tissue paper to protect the model surface from the string.

It is important to keep the string reasonably taught in order that the model is held securely. If, as I often find, once you've tied it, if it seems a bit loose, you can tuck a piece of foam under the knot - you can see this on the nose in the photo above. You should now have a securely attached model ready to be put in the box.
I place a single layer of foam packing peanuts in the bottom of the box and place the model base board on top of those. This is also a good moment, if necessary, to trim the height of the box down to suit the model and keep the shipping fees down. Just allow a few cm clearance above the highest point of the model.
The next task is to construct vertical cardboard "walls" around the model where there is space. These are taped to the inside walls of the main box and serve as protection again vertical crush pressure. Note in the photo below I have already filled the resulting "pockets" with foam peanuts.

What happens next is the messy bit. Fill the whole box with micro poly beads. These are widely available and are often sold as "bean bag filler". They are small beads of expanded polystyrene that weigh next to nothing but will, with a gentle shaking, fill every remaining air space and completely envelop the model.

These micro beads are the work of the devil in terms of getting everywhere if you are not careful, and this is also the reason I make sure to plug areas on the model from where they may not be easy to extract later. It is worth placing a sheet of card or bubble wrap across the top of the beads at this stage to help avoid a complete snowstorm when the box is opened. Then seal up the box, using plenty of packing tape around all edges and corners to ensure there is no escape for those beads.
The final part of the packing process is to place the box inside a larger one, packed in with foam peanuts. This "double boxing" is critical and again, you need to work out a compromise between sufficient protection and not making the package so large it costs too much to ship.

This photo is for demonstration purposes, you need to complete the filling with the foam peanuts right up to the brim. Once the outer box is sealed up, the package is ready to go. As an added precaution appealing to the tender mercies of the courier, I also liberally apply "This way up" and "Fragile" stickers to the outer box before shipping.As you can see, packing up the model can be a fairly complex project in its own right, but it is worth it. For me, having spent so much time and care putting the model together, and for the customer, having paid me to do so, the model deserves all the protection it can get.
Unpacking the other end also requires a little care. It would be a shame if the model survives it's journey only to be damaged by careless extraction. My advice to my customer is that once you have extracted the inner box, choose a contained location to open it where you can control those packing beads. A couple have told me they actually unpack it in the bathtub! For smaller packages, a large binbag can be used but gentleness and care are the main tools to use. The beads need to be carefully poured out of the box to expose the model. It can be tipped up for this, the model is secure in the box. Once the model is exposed, the string straps need to be carefully snipped using sharp scissors and the model can then be lifted off the the base board. It's then just a matter of carefully removing any tape and picking out any residual packing beads. But importantly, none of the packing should be discarded until the recipient is sure that all parts of the model are accounted for. If anything has broken off in transit, it will be in there somewhere!
So there you have it, this is how I ship my models all over the world and as I said, whilst it can be a bit of a pain to put into practice, I have very rarely had any breakages, and even those have been minor ones.
Choosing a courier is also a factor. Even all this effort will not protect against severe abuse. It is well known that some of the "cheaper" companies do NOT treat their packages well, a quick Google will soon reveal some scary videos. And in this game, it's not like I can just quickly send out another one. I will give a shout out to Fedex, whom I use for all international shipping. They are not always the cheapest but they have always been the best at delivering my models on time and in good condition and their tracking is comprehensive. You can also pay extra for insurance, up to you. Personally I don't because I have never had a write off and it can be very expensive. But if a customer requested it, it's an option. Other carriers are available of course but this is my experience. All I would say is DO NOT use regular post - just don't.
I hope this has been an interesting read whether or not you have any need to make use of it. And if so, may all your models land safely.