Thursday, 28 June 2012

Build Review - Airfix 1/48 E.E. Lightning F6


This is undoubtedly one of the very best kits that Airfix have ever produced, and belies their rather low end image these days, even though the kit was designed over 15 years ago. It builds well, is accurate, has lovely detail and what is more is the only practical option for this ever popular aircraft in this scale. The kit is cleanly moulded, very little flash and has relatively few parts compared to some similar modern offerings. 

I'm going to take the plunge and go for an aluminium finish. Wish me luck. But having finally tamed the impetuous beast that is Alclad II, I shall hopefully be able to do it some justice.

As ever, we start with the cockpit. I skipped the construction of the seat since I had invested in the rather fine QuickBoost resin offering that is made for this kit, and I would drop it in later after the rest of the work was done. The cockpit tub actually consists of only a handful of parts, but is nicely detailed, if not quite up to the standard of some of the very latest toolings. Decals are offered for the control panels, although for some reason they seem to bear no relation to the moulded detail. I rarely used these kind of decals, certainly in this scale, so proceeded to paint and detail the interior with my very finest brushes. Considering how much is visible in the final model, it came up very nicely.

We then move on to the air intake which consists of a very cleverly engineered system of ducts, incorporating the radome section in one go. However I was sure to fill the radome with lead shot before sealing up, as this plane will need a lot of nose weight to sit on its wheels properly. The tail pipes also need painting and construction at this stage since they sit deep within the fuselage. So far, everything was fitting very nicely with very little finishing required. But the acid test of fit is when you try to get everything in the fuselage, which was next.

I fitted the cockpit tub, intake housing and tailpipes inside the right hand fuselage half and to my relief it all clicks into place very nicely. Locating lugs help here and they are spot on in their positioning. Before closing up the fuselage, however, is peppered every unused hole in the nose area with more lead shot to be certain of avoiding a tail sitter. The fuselage then went together with very little pain in the end, just a little adjustment to the cockpit tub alignment.

Since I was planning a metallic finish, I then spent a lot of time smoothing down the fuselage seams since although Alclad produces an excellent finish, it shows absolutely no mercy when it comes to showing up your seams. The wings and tail went on with no fuss at all, only a small bit of thick primer being used to clean up the wing roots. I did, however, inadvertently use the wrong tail fin (there are two in the kit) and did not realise my mistake until it had largely set, so I had to very carefully remove it and replace with the correct one. My own stupid error, but look out for that if you are building this. Also, the elevator fit to the fuselage is not particularly intuitive, so best of luck with that as well. As usual, I left off the undercarriage and other surface details until after painting. I masked off the canopy and other orifices and turned to the paint booth.

Although I often don't bother with priming, when covering a large area with Alclad is it to be advised, so the whole plane got a good coat of gloss black. This is the best finish to use to prime for Alclad, it seems to enhance the metallic sheen very nicely. I then sprayed over a coat of Alclad Polished Aluminium as I was thinking that I would go for quite a shiny finish and I had not used this particular colour before. However the end result, whilst indeed coming up beautifully shiny and clean, had a very noticeable greenish hue which looked very wrong indeed. And after checking some more pictures, it was clear that Lightnings were never actually this shiny except in museums so I then covered it in another coat of normal aluminium and this toned down the shine and got rid of the nasty green as well. I did, however, leave the nose fairing untouched since this needed to be differentiated from the rest of the body.

Now started the very tedious task of masking off individual removable panels and spraying them with darker aluminium to make them stand out from the rest of the body. This is a painfully boring process but is well worth it as it adds enormous realism to the end result.

The markings scheme I had chosen is from the XtraDecals sheet, representing XR769/B from its days with 74 squadron in Singapore around 1970. This called for a black tail fin so this was masked off as well as the cockpit canopy and glare strip and these got a good coat of black. There was also a need for a white spine panel on this plan and so afterwards this had to be masked and sprayed as well.

I then gave the whole model two coats of Klear. Conventional wisdom says Klear spoils the Alclad finish but I don't agree and it also is rather necessary to protect from the subsequent weathering process as well. She was now ready for decals.

I placed the main decal markings in place from the XtraDecals sheet and used the kit decals for all the stencilling. Everything went on without protest and settled down nicely with setting solution. The only difficulty I had was the walkway markers on the wings which do not match the panel lines at all (take note, Airfix) and needed some adjustment. Another coat of Klear and she was set aside to dry.

Meanwhile, I put together the undercarriage and ordnance. I decided to use the kit supplied Redtop missiles so these were built, painted and decaled according to instructions. The wrap around decals for the missiles need trimming to length, preferably before soaking as I found to my cost.

Once cured, I gave the plane a black oil paint wash which brought out the panels and rivets very nicely, before finishing the whole thing with a satin mix of my own concoction which blended the finishes of the metal against the painted sections very well indeed.

Attaching the undercarriage was a little frustrating, there are no proper locating lugs for the leg support arms and the instructions are very vague, so I used reference photos and a bit of guesswork to get those in. That said, the undercarriage aligned itself very nicely which was a relief, so often one spends ages adjusting and modifying to get the wheels and legs lined up properly. I then glued on the missiles and the few remaining probes and sticky out bits and she was almost done.

The last, and most pleasurable, task was to paint up the resin seat - I love doing this as it really comes alive with a bit of carefully applied paint. But first, check the fit. Even having been supposedly designed for this kit, of course the resin seat did not fit the cockpit tub properly. The main problem is that it is too tall and so I spent some time shaving slices from the bottom of the seat until it sat correctly. Once happy I painted the seat using Tamiya acrylics. I did not use the overhead emergency handles provided by QuickBoost, as I find I can never get the yellow/black stripes painted convincingly. So I cheated and raided my stock of Eduard pre-painted etch frames and glued these to the top of the seat. Dropped in to the cockpit, and she was finished.

This is a great kit, and I will be building another one very soon. It stands its own ground perfectly against the very latest Far East toolings and restores ones slightly shaken faith in Airfix as a serious player. They have also reinforced that feeling with their very latest new releases but unfortunately they still try and sell us other kits that were moulded over 50 years ago and these are virtually unbuildable by serious modellers these days. There is, of course, a nostalgia factor in this and I am as swept up in that as most others of my generation, but let's hope they continue to release new kits of the current quality and they will win many new fans.

But in the meantime, keep the 1/48 Lightning in production as long as you like, Airfix - its a beauty!

www.bowemodels.com


Monday, 18 June 2012

Build Review - Italeri 1/48 Hawker Hunter Mk 6/9


This is a rebox of the Academy kit, but with a stunning new sheet of decals. On inspection, the flaws of the original have remained, unfortunately, predominantly the ridiculously undersized cockpit. This will need to be dealt with. But it is the best you will find in this scale, and is indeed a fine kit of this timelessly beautiful aircraft. There are six schemes to choose from, and I decided to go for the Mk74 Singapore Air Force version as a welcome change from the usual two tone RAF schemes!


I had read many complaints about the cockpit on this tooling. I decided to keep an open mind and proceeded with the cockpit as per the instructions. The instrument panels are very well represented and came up really nicely with some dry brushing and blobs of colour and glass. But the real problem is the seat and the associated depth of the cockpit. The seat fits just fine, but it is plainly a 1/72 scale seat and the depth of the cockpit tub matches it. Often one can live with minor issues of this type but this is unforgivable. It just looks absolutely stupid. The rest of the cockpit is in the correct scale, however, and so some corrective work was necessary.


I found a suitable replacement Martin Baker resin seat in my stash, but of course there was no where near enough depth in the cockpit tub. I know that after market cockpit tubs are available to fix this problem, but I was on a schedule and a budget! So I resorted to some major plastic surgery to remove the cockpit floor and build new side walls to lower the whole arrangement. The control column also needed extending but in the end this worked pretty well.


The next challenge is one that plagues all dual intake, single engine plane kits (e.g. the Harrier) and that is how to represent the intakes that flow into a single central duct. Italeri (or rather Academy, whose tooling this is) present you with an arrangement of duct panels that need to be glued into a coherent unit that sits between the fuselage sides. This took some care to get the individual parts lined up but I got there in the end and this piece then sits in the fuselage and the intakes stick out ready for the wings to be placed over them, which I suspected would be a recipe for some serious alignment and seam issues - and I was not wrong.


The nose wheel bay is a single part that sits under the cockpit and there are two versions, depending on the mark you are building. This, and the nose cone, were stuffed with lead shot before attaching since I know that the Hunter is a notorious tail sitter and I was taking no chances. I had to do some tricky adjustments to allow space for my newly deepened cockpit tub but there is just about room if you are careful.


The wing sections went together next with no problems, in fact the fit of the undercarriage bay walls is a magnificent piece of kit engineering. But now came the hard part - the wings are designed to now slip over the protruding intake sections. As expected, much effort was required to get the intakes lining up properly and the wing roots flush with the fuselage. If I was designing this kit, I would do a "top and bottom" fuselage rather than a side by side, this would eliminate most of these problems. But much sanding, wiggling and filling later everything was in place.


Flaps and ailerons are mercifully separate parts and I chose to display flaps down since I think it adds interest to any model aircraft. The tail went on with no complaints, as did the fuselage "under bumps" but as usual, I left off the small parts until after painting.


The only areas requiring significant filling were the wing roots although I gave all suspect areas a dribble of primer to be safe. The fuselage seams were particularly tricky to get rid of as well, and much re-scribing was needed after a major attack from the sanding sponges. Canopies masked and installed, and we were ready for the paint shop.


The instructions call for the underside to be painted light grey, but this is misleading. The actual colour is basically off white, so I mixed up a batch of white with a few drops of buff, and used that. Once masked off, then began the normally tedious process of Blu Tack masking the topside for the three colour camouflage scheme. In practice, this was not too onerous, the biggest problem was getting the right colours. I used dark earth for the brown, but I had real trouble matching the two greens used by the Singapore scheme and used two or three variants before I was satisfied that I had the right colours. A coat of Klear later and it was set aside to dry.


Once cured, decaling began. The decal sheet is superb, and contains some excellent detail but the down side is that it takes an age to get through them. Unusually, the Singapore scheme contains no wing markings. But the decals performed flawlessly and settled down with a dab of Micro Sol. More Klear to seal them in and another drying period later, I washed the panel lines with black oils. The panel lines are perhaps a little deep and wide but whilst it may not be totally authentic it does help to add interest to the final look. I finished the whole thing off with two coats of satin.


Next, on went the undercarriage. This is a rather complex and delicate part of this kit. The undercarriage details are superbly represented, but the pay off is a lot of careful effort required to get everything in place and strong enough to support the model. I also installed the air brake in the "deployed" position to add more interest.

Finally, the under wing stores went on. I decided to use the ubiquitous large fuel tanks on the inner pylons, these always seem to set off the Hunter's smooth curves beautifully. On the outer there are a number of options including a number of bombs and and seriously complex looking set of rockets but I plumped for the rocket pods in the end as I did not want too much going on to break up the clean look of this beast.

So there we have it, a kit with some flaws, and one huge one to boot, but with perseverance these can be overcome and it does indeed build into a beautiful model of a beautiful plane.

www.bowemodels.com


Sunday, 20 May 2012

Build Review - Hobby Boss 1/48 F3H-2M Demon


This one is being built as a commission. Have heard great things about it, and it's a subject that has been sorely overlooked by most kit manufacturers in the past. And I do have something of a soft spot for the U.S. naval schemes, even if they are two a penny in the modelling world.

The box contents look very promising indeed. The mouldings are perfection itself and there is a bit of etch to keep the detail fanatics happy. Let's see if it builds to expectations.

In true Hobby Boss style, the instructions are really well printed and clear, and they are one of those manufacturers that takes the trouble to put the full colour name in the painting call outs! Listen and learn, Revell and Airfix. It really saves hassle looking the things up all the time.

In the usual fashion, we start with the cockpit tub. Decals are supplied for the instrument panels but the actual parts are well moulded with detail so I discarded these and went for dry brushing and picking out items with a fine brush. It all goes together very nicely but my one gripe is with the ejection seat. I had already read that it represented the early (and quickly rejected) type but my main concern is that its actually a very poor looking seat that still looked unimpressive even when dressed up with some etched belts. I could not live with this so promptly ordered in the fine Pavla resin replacement item that also represents the later, and more typical, seat. Otherwise I know I would be regretting it for ever more. Once painted up this finally looked the part!

The cockpit tub fits into a separate fuselage nose section which went together with no problems, and this then fits inside the main fuselage and creates the air intakes at the same time. This was a serious engineering risk on the part of the kit designers as if there were any fit problems it would be very tough to get right, but all credit to Hobby Boss, everything clicked perfectly in place! The only problem is the lack of vertical support for the nose wheel bay which I had to press down through the as yet unfitted radome whilst the glue set to avoid some major gaps. If you are building one of these - add something to press down on the bay before fitting the front of the fuselage, you will be glad you did.


I filled the radome with lead shot before fitting it - there is no mention of nose weight required in the instructions but my sixth sense told me I would need this. In the end, I was proven right and it still only just avoided sitting on its tail - you have been warned.

I gave the whole fuselage a good rub down to clear the seam lines, which were not bad but still noticeable, and next we came to the one real problem area with this kit - the wings. They can be built folded, but I never go for that. A minor gripe is that the etched wing fences supplied are a very nice idea and go on well, but they are far too tall. So I cut a significant groove into the wing to bed them down as best I could. But the main problem with the wings is that they do NOT sit on the fuselage properly and I have read similar comments from other reviewers. So my solution was to position them as best I could, which involved trimming down the locating lugs somewhat, then trickling glue into the (significant) seams, then setting it aside carefully strapped in position to dry. The seams (which were up to 2mm in places) were then filled with putty and filler and carefully sanded down. The tail elevators has a similar problem - now I know they are rotational but the size of the gap was just plain wrong so I had to fix and fill them as well.

Next on to the painting. The radome and glare panels were sprayed black and masked off. Similarly the leading edges of the wings and elevators were treated with Alclad aluminium and masked off. I also used dark aluminium for the exhaust area. Next the underside got a good coat of white. I never use pure white (this just doesn't appear in nature!) but always add a few drops of dark yellow to give a slight creamy colour to it, which is much more realistic. I don't know why, but this seems to make it cover much better was well. After masking off, the topside then got the gull grey coat (which I make myself from a 50/50 mix of sky grey and white with a few drops of yellow). Finally the tips of the wings and tail needed painting red. Annoyingly, Hobby Boss provide decals for the rest of the on body red flashing but not these and matching the colours is never an exact science, but Tamiya XF-7 was close enough. A couple of coats of gloss and she was ready for decaling.

The Hobby Boss decals are excellent, as usual. All main flashes are provided and the other markings are sharp, in perfect register and the decals are just the right balance of thinness for seamless appearance, and not so thin that the break into pieces. On first inspection of the sheet, I was concerned at the lack of stencils as I like plenty of such detail, but to be fair, have scoured the net for every image of a Demon I could find, they didn't really have any! I guess health and safety hadn't kicked in when these things were made. The decals went on like a dream and with a little Micro Sol they flattened down perfectly. Another gloss coat to seal them in and set aside to dry.
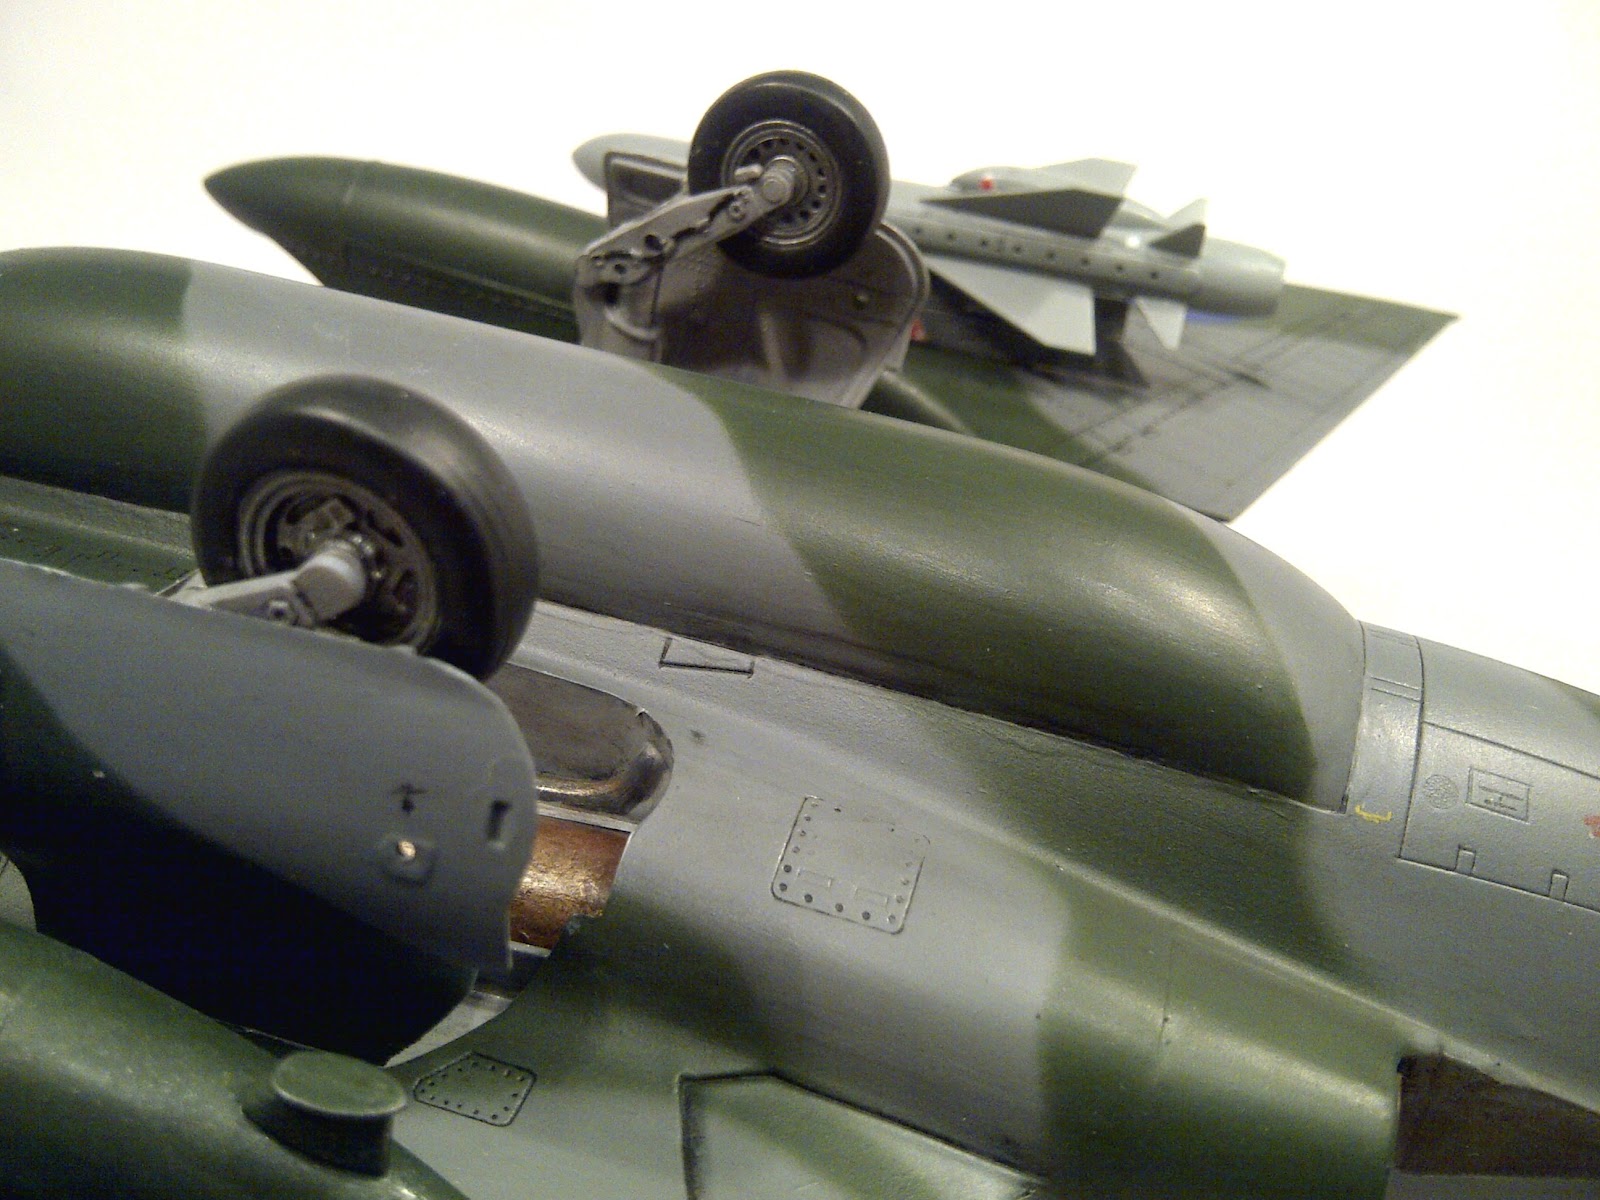
In the meantime I put the ordnance together. I mixed up a new batch of white for the missiles, this time mixing in a little blue and grey instead of yellow. This differentiates them nicely from the underside of the plane.

I then pin washed the whole plane with thinned lamp black oil paint, and this brought out the surface detail wonderfully. I cannot praise this aspect of the kit highly enough - the panels and rivet detail is simply perfect. Once dried, two coats of satin dulled everything down and everything was looking pretty good indeed.

The undercarriage is always a bit fiddly on the most basic of models, but this one breaks new ground for complexity. Great for the detail and realism, but a real chore to get installed. You cannot really build it in isolation either, most of it has to be put together in situ. But I got there in the end after a number of false starts and I have to say that the pain is worth it as it is one of the best detailed undercarriages in the scale that I have ever put together. Even the wheel bays are superbly detailed and to my mind could not really be improved. A thin wash of oil brought out all the details nicely, which is important in this paint scheme since everything is the same colour!

Finally, the ordnance was installed along with the other various little extras such as the lights, fins and fuel probe and she was done!

There is no doubt this is an excellent kit in terms of detail and engineering and was largely a pleasure to build. But the wing problems really are the elephant in the room, especially considering how well the rest of the plane goes together and I can only hope that this may be addressed in future variants since it spoils what is otherwise a superb product.

Something with propellers next time, please....

www.bowemusic.com


Thursday, 10 May 2012

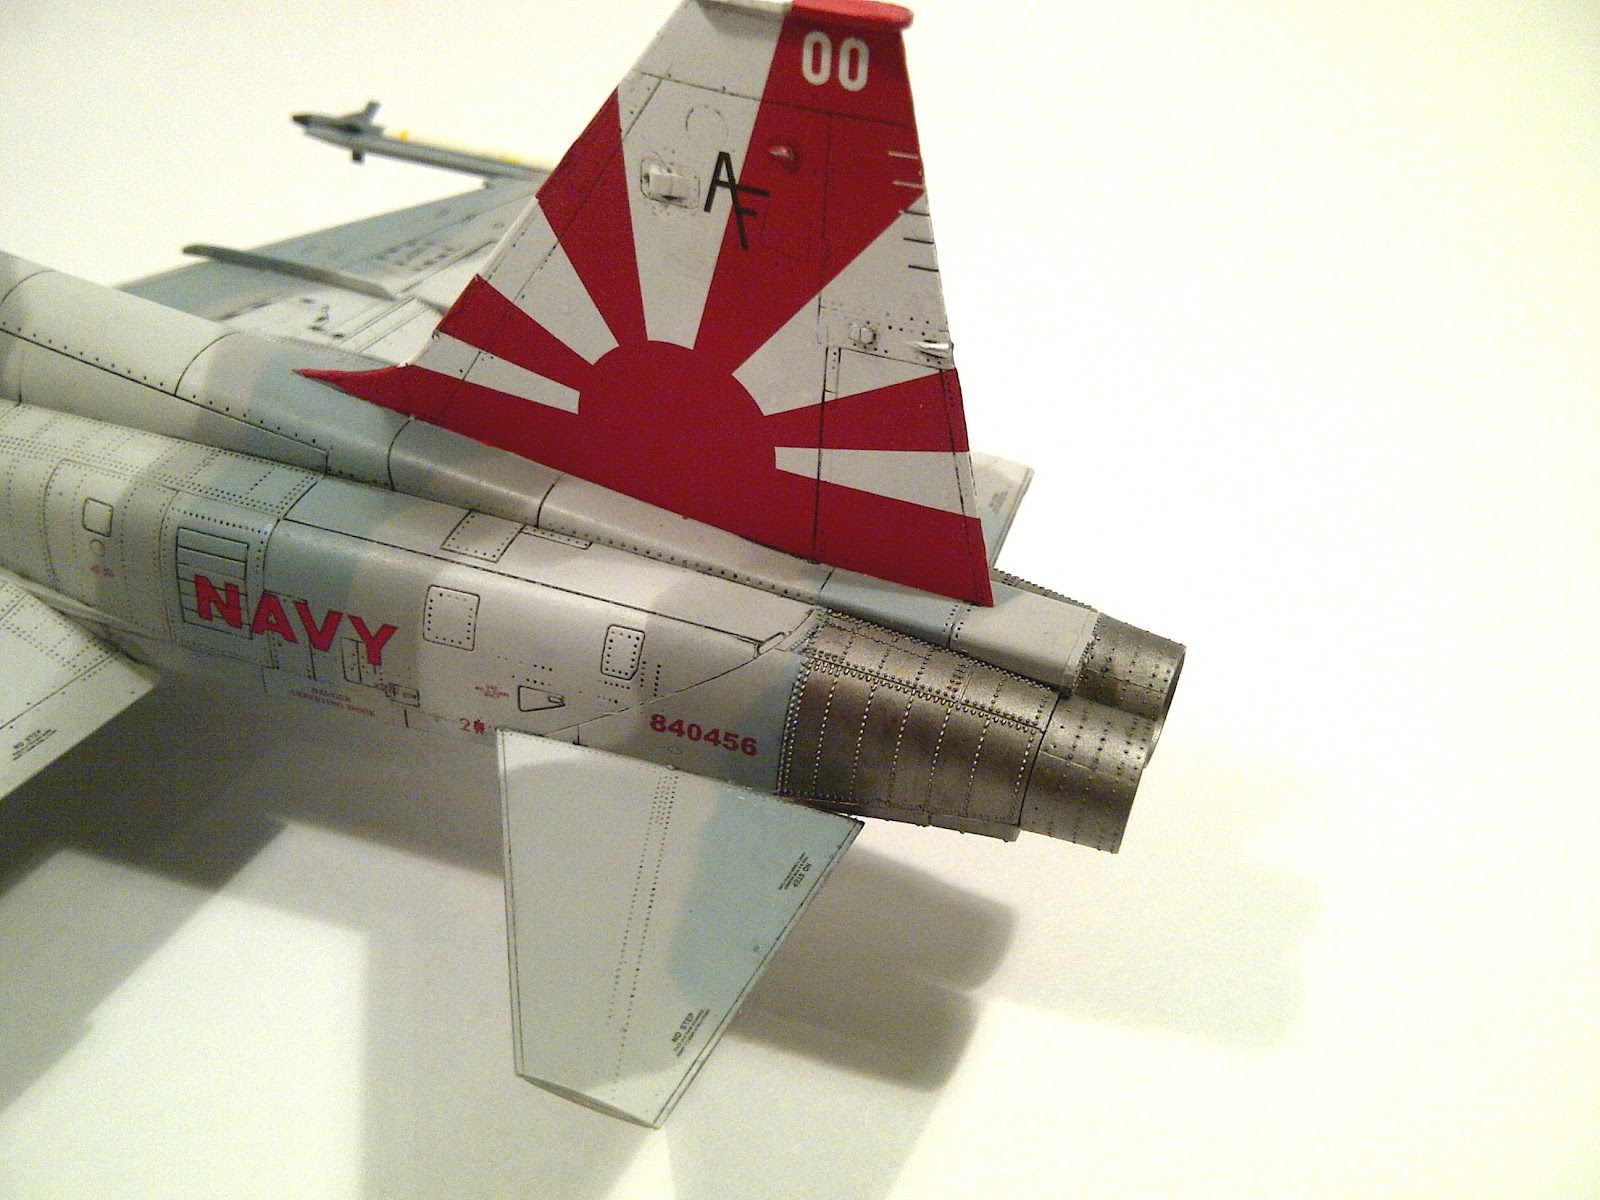
Build Review - AFV Club 1/48 F5-F "Sundowners"


I bought this kit on a whim, have always loved the Tiger II and it is one of those rare planes whose looks are not spoilt, in fact are arguably enhanced, by the two seater version. Reviews are very positive and the in box paint scheme is absolutely gorgeous!

Having checked in the box, we have some lovely moldings, crisp and clean and it oozes quality. I hope this proves to still be the case once building starts.

As ever, the cockpit comes first. This is based on a pretty much blank tub structure that has all the relevant panels then affixed to it. The panels and dashboard are beautifully crafted. No need for etch or resin replacements here, just some gentle dry brushing and picking out some of the details with a fine brush. A blob of clear varnish on the dials completed a very convincing office layout. Similarly, the seats are wonderfully moulded, needing only the usual addition of belts which I sourced from some spare Eduard offerings in the spares drawer. I chose to leave off the canopy brackets until later, as these would undoubtedly become casualties during the rest of the build.

Being the two seater version of the F5, the nose section is separate from the body of the fuselage and needs to be built up from the provided panels as a discrete entity. There is, or was, I suspect, some intention to provide an avionics interior since the port side of the cockpit has a large panel that needs to be fared in. This is a little annoying as this is just something else that needs to be lined up correctly, but this was done with very little trouble.

The main part of the fuselage goes together next. There were no real fit problems but I felt that the rather large number of pieces needed to create the air intakes was excessive with no apparent reason. The kit provides a small number of etched parts, two of which represent grills within the intakes. Again, this is probably over engineered as the desired effect could have easily been moulded and it just adds something else to get fitting right - but mine is not to reason why, and I cannot fault the overall fit of the plastic parts. The elevators are designed to be movable but personally I can't be doing with that sort of thing so I set them flat and glued them in place. The wings are intrinsically part of the body in the kit so no problems with getting those right.

The cockpit end then plugged in seamlessly to the main body, and I really mean seamlessly. I have not built many models with separate front and back ends where the two go together without quite a fight, so all credit to the kit engineers for that one! In fact, and I know I keep going on about it, the whole fit was so good that virtually no filling was required - just a token primer dribble in a few places more for my own peace of mind than any obvious gaps.

I masked off the canopies and glued the front section in to place, then blu-tacked the two removable sections on to save having to mask the cockpit and to ensure accurate painting across them. After a quick rub down she was ready for painting. I sprayed the black nose cone first, then the rear section and tail pipes using a mix of Aclads, then masked these off. The chosen scheme required a three colour pattern - always a challenge. I mixed up the three colours all based on Tamiya XF-19 (Sky Grey) to maintain consistency. The lightest one went on first as a base. This showed up a few rifts around the intakes which I had to deal with, but otherwise fine. There then followed the tedious task of blu tack masking once, followed by the mid grey, and then again to get the last colour on. A very tedious and time consuming process, but the end result was worth it. The moment the masks come off is always one of my favourite points in the build, and when this scheme was revealed in its glory I was extremely pleased with the result. After drying, a couple of coats of Klear were applied and set aside to cure.

Decaling comes next. This is probably the only real disappointment of the kit. The decals have far more carrier film than is necessary, which needed to be trimmed. They took an age to loosen (which always drives me nuts) and they were incredibly fragile - breaking up just from a hard stare. But I had no real option but to persevere, which involved several "on body" reconstructions of broken decals. However, being so thin, they settled down very nicely with a bit of Micro Sol. The fin markings are provided as large decals. This always terrifies me, especially knowing how brittle they were, and I toyed with the idea of masking and painting but in the end thought I would give the decals a go - after all I could always use that as a backup plan if things didn't work out. As it happens, it all went pretty well, the only problem being that the decals are actually rather too large, necessitating quite a lot of trimming (I guess it could be worse and they could have been too small). Copious amounts of setting solution later they actually looked excellent, and far better than I could have painted it on, I suspect.

Another coat of Klear and whilst that dried, I set about the remaining bits and pieces, although since the undercarriage mostly needs to be fixed to the body there was not much to do except paint the parts up. I must say that the undercarriage and air brake doors are beautifully thin which makes them look so much more convincing than the chunky slabs one tends to get on most kits. I also put together and finished the external fuel tank, which I had decided to use, and the two sidewinders. The latter were not strictly called for in this version, but they were on the sprue and I thought they were far preferable to the orange pod that the instructions called for.

I gave the plane a dark grey oil wash which brought out the fine surface detail in this kit brilliantly, coated it with my Klear/flat base mix and attached the undercarriage and ordnance. That just left the canopies, which proved to be probably the trickiest part of the build. I had left them off from the initial cockpit build and getting the brackets in place and firmly attached to the canopies, and getting the whole thing lined up correctly, was something of a battle - but eventually I prevailed. Just the addition of the pilots ladders, which are always a really nice touch and she was finished.

I was extremely pleased with the result, with the exception of the decals, kits don't come much better than this one. Excellent engineering and fit and I will definitely be building another one of these in the future, although next time I'll probably try a single seater!

www.bowemodels.com


Tuesday, 1 May 2012

Build Review - Airfix 1/48 Buccaneer S2


One of the most infamous, yet sought after kits around, this. It is the only option for the Buccaneer in 1/48 and this kit is one of the most uncooperative you can buy. Poor fit, warped parts, out of register decals. Just some of the delights that I knew awaited me.

BUT! I felt like a challenge. I built one a couple of years ago with some degree of success (maybe I got lucky) and now I was on a mission to prove once and for all that it can be turned into a presentable model. I decided to go for the grey/green RAF camouflage since I think this plane looks best in that scheme. The downside is that meant using the kit decals, since unless you want the "Desert Storm" colour scheme, third party decals are very hard to come by. Would the register problems be present in this batch? I would soon find out.

I also had an Airwaves etch set and a Pavla models ejection seat set in my spares drawer which I decided to use in order to bling up the model a little. With such a large removable canopy it's worth the extra effort.

So I started with the cockpit, as ever. The kit parts for the seats are actually not that bad as these things go, and would probably paint up very presentably, but I had the Pavla resin ones so I left these out. Otherwise, the cockpit is very basic and (horror!) relies on decals for the controls. I wish manufacturers would not do this - you can maybe get away with it in small WWII fighters but in a plane with so much cockpit real estate it is simply horrible. However, I installed them since then the dials would show through the Airwaves etch detail, and this worked pretty well. I left the seats out altogether for now. The etch, once painted up, actually gives just the right amount of detail and dimension to the result, which I was very pleased with.

The cockpit tub actually fits very well into the top half of the fuselage along with the navigators screen, so far so good. But next came the dreaded job of connecting this to the bottom half. From experience, I knew this would be "fun". The problem is, the parts are slightly warped and do not line up well at all. In fact, the top is ever so slightly larger scale than the bottom which means lining things up is nigh on impossible. But the way to deal with this is as per a tip I found on-line. Do it bit by bit. So after filling the nose cone area with lead shot and super glue to prevent tail sitting, I glued the front section only and let it set. When firmly fixed, I moved to the mid section, and finally the tail. This actually worked rather well, although there were some serious seams and ridges left due to the poor shape.

So the next few hours were spent filling, grinding and sanding away at the fuselage to blend the halves together. This is a job I hate, its messy and unrewarding, and those seams NEVER seem to disappear. But eventually I got there and was not at all unhappy with the result. The next stage was to attach the air intakes, which needed some serious surgery and much more sanding and filling to even remotely line up with the fuselage. But again, bloody minded persistence paid off. Same story with the tail pipes.

The wings are simply awful to deal with. Warped and ill fitting, but with much effort they went together and on to the fuselage, although it was quite some work to get them to stay in dihedral and subsequently to fare in to the fuselage in such a way as to appear correct in terms of the fold lines. To be honest, doing the folded wing option would have save a lot of effort, but that never appeals to me, I like to see the whole plane.

The tail section went on without trouble, but with horrendous gaps that needed more careful filling and sanding. A final overall sanding, re-scribing and washing, and with the canopy masked, she was ready for initial painting. I painted the intake edges and wing leading edges with Alclad aluminium and masked them off.

I gave an overall coat of dark sea grey and was pleasantly surprised at how few flaws were revealed. A couple of areas needed some extra filling and re-painting but otherwise it was starting to look rather good. I toyed with the idea of painting the green markings on freehand, since I was baulking at the prospect of masking the "all over" scheme required. In the end I bit the bullet and got through an enormous amount of Blu-Tack and masking tape, before finally spraying all over in an equal mix of Tamiya Black Green and Flat Green. I find this combination represents the RAF green rather well. Masks removed, she was starting to look the part. A couple of coats of Klear and all was ready for decals.

This was the stage I was not looking forward to, since I was expecting the decals to be out of register. Sure enough, starting with a wing roundel, there was a white crescent around the side. I had no choice but to use these decals so I had to carefully trim all the major markings before placing. The kit decal sheet is actually pretty comprehensive and it took the best part of a day to get them all on. Another coat of Klear to seal them in was followed by a black oil wash and finally a coat of my custom Klear/Flat base mix to finish. Things were now looking pretty good.

The undercarriage is pretty straightforward, but actually is a very good representation of the real thing. These were all sprayed light grey and likewise the wells on the plane. The wells are actually very sparse, and in an ideal world could do with some extra detailing, but in the end I painted in the engine housing and pipe and was pretty happy that it would stand up to reasonable scrutiny.

Under wing stores were next. I was in two minds whether to use the slipper tanks but when I installed the two Sea Eagles on the outer pylons I decided that they were needed to make thing look balanced. The kit parts used to make them up are really badly engineered and took much cursing, filling and sanding to get into place, but we got there in the end.

I had been saving the resin seats for the finale, as I really enjoy the way that resin seats come to life with a dab of paint. They did not disappoint and after an enjoyable hour or two they really looked the part. These then dropped in to the cockpit tub with no problems.

I am actually very pleased with the overall result, and this much maligned kit is definitely capable of being turned into a fine representation of this beautiful aircraft. I think so anyway - many people think it looks like a banana but to me it is one of the best looking planes every put together. Along with its contemporaries like the Hunter this is a product of an era when it seems to me that designers really did care about making attractive machines.

So this kit can be conquered and I shall be less fearful of building another in the future. But please, somebody produce some decent decals for it!

www.bowemodels.com