
I was looking to build a tropical Bf109 for a diorama idea I had been mulling on for a while, and I wanted it to be "engine exposed". I knew from experience that the Eduard 109E has a beautiful engine option that is a work of art in its own right, and so when they produced this tropical E-7 it was a complete no-brainer for me.
The box contains four dark grey sprues and one clear, along with two etched metal frets, canopy masks and two decals sheets, a very detailed set of stencils and another containing markings for five different aircraft. Two of those aircraft (interestingly) do not have specifically tropical colours, one of the others I had built previously and one I felt looked rather boring, so it came down to the box top version for me.


The engine is then attached to the firewall with nicely moulded mounting arms and rather surprisingly, this all went together with no fuss at all. I left off the top mounted guns for now as these would make masking off the engine area for painting more difficult. The fuselage is now brought together around the engine/firewall structure and the cockpit tub, and this all clicked into place with no argument.
The wings go together next, and these fitted perfectly. However note that, as it comes, the kit forces you to deploy the flaps and slats. If you wanted a clean configuration then a small amount of kit surgery will be required, although it is very straightforward. The wing section then fits neatly to the fuselage, although I threw in some filler for good measure at this stage. Likewise the tail section presents few problems, but I did find that by default it was a little skewed and needed some gentle bending to get straight. I left off the rudder for now as my chosen colour scheme required it yellow and painting it separately made most sense. Similarly, the undercarriage was not attached at this stage.
The canopy is in three sections. I masked and glued in place the front and rear (permanent) sections. The centre section I glued in using a tiny blob of cyanacrolyte since I would need to remove it cleanly later to pose it open after painting. This saved having to mask out the cockpit and also gets the centre canopy painted as part of the whole.
 In preparation for painting, I also masked off the various air intakes and, of course, the engine assembly very carefully, the cowling parts would be painted alongside the main airframe. I started with a thin layer of Tamiya primer, I did not want to destroy the delicate surface detail. The yellow nose and rudder were sprayed first, and then the lower nose section masked off as this is much easier to do than mask of the rest of the airframe later. Next the entire plane was sprayed with RLM78. I use my own mix of equal parts Tamiya XF-23, XF-19 and XF-2 for this, which I find works well. The upper wings and top of the fuselage need a solid coat of RLM79 and this was simulated with a mix of XF-59 and XF-64, applied after masking the entire underside and sides accordingly. I then applied the "blotches" using XF-27. The paint call out calls for RLM80 (Olive green) but this looks far to pale for my liking. Contrary to perceived wisdom, I find it easier to apply this kind of mottling with a very high airbrush pressure and very restrained pulling back on the trigger. Many people go for low pressure and thin paint but I find this can "spatter" too easily.
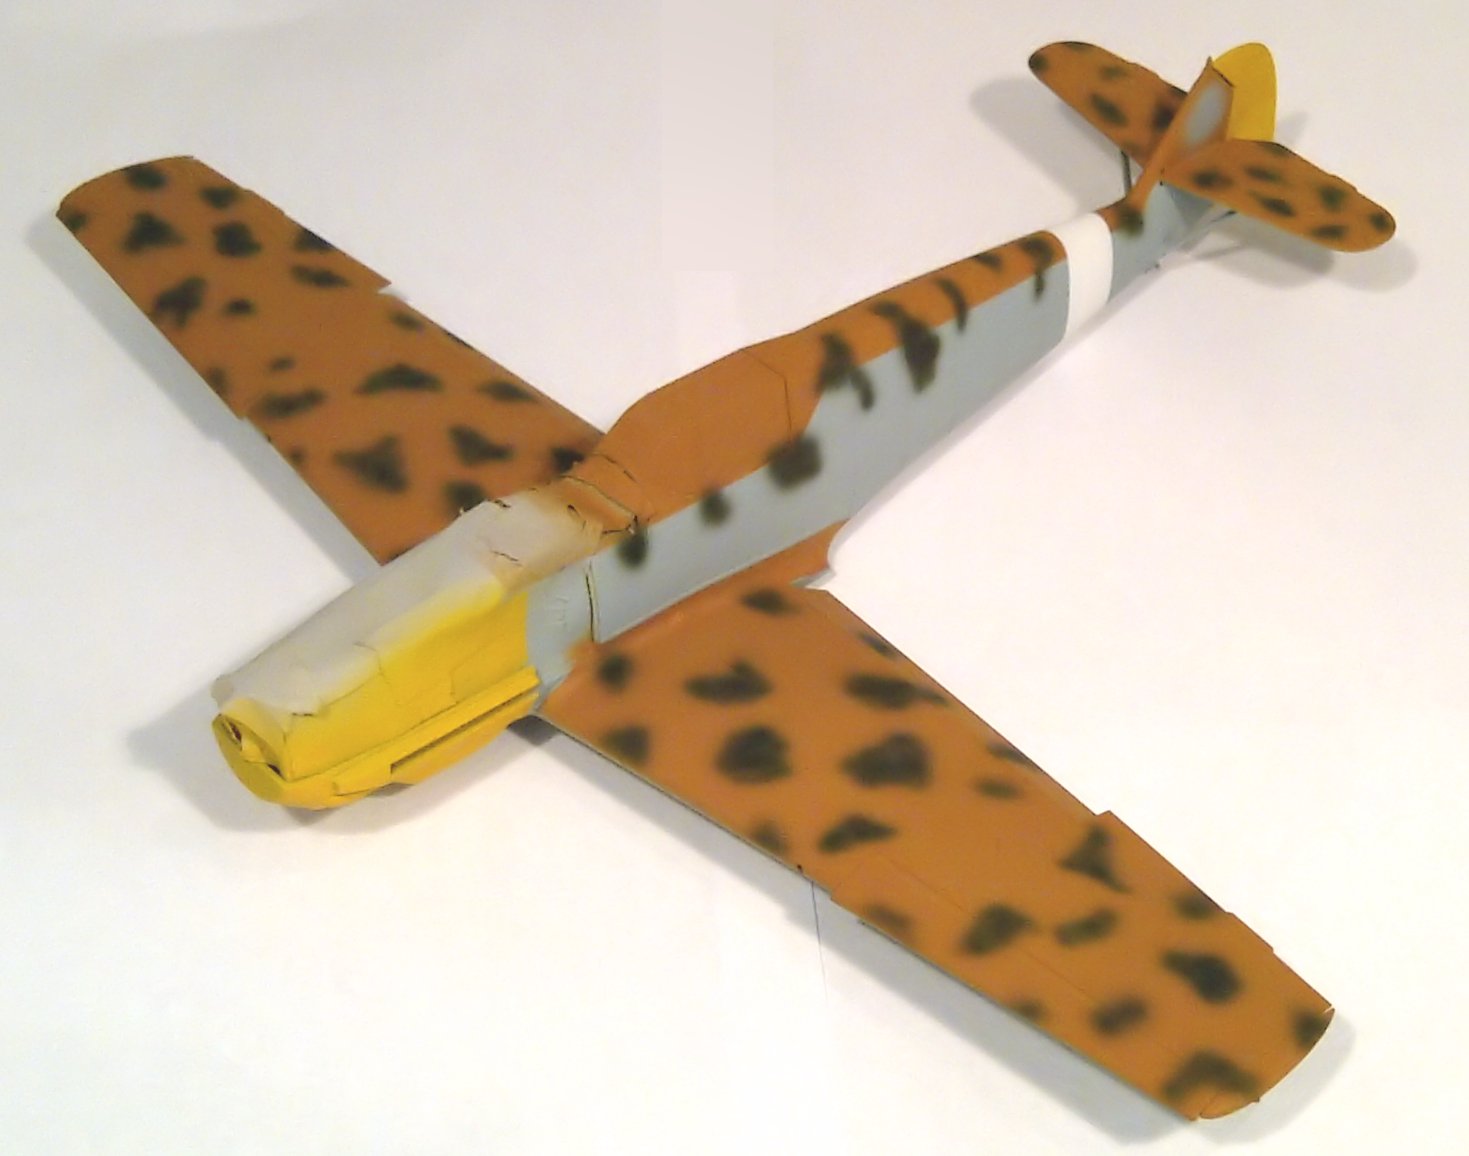 The final painting job was to mask off and apply the white fuselage band. I probably should have done this in advance and masked over the band, but to be honest, I forgot. Anyhow, when all was done the whole plane and cowling parts all got a good coat of Klear and they were set aside to cure. Whilst that was happening, I took the opportunity to paint and assemble the undercarriage and propeller parts. Eduard have got the wheels just right. They provide the tyres and wheel centres as separate parts, which is a real godsend to us modellers as to be honest, there is no bomb-proof way of getting a good wheel/tyre paint separation whether using masks or very careful brushwork. Personally I generally use the latter but where the parts are separate you know you are going to get a perfect result.
Once dry, I applied a black oil paint wash to the panel lines and this brought out the details superbly.This was followed by a couple of coats of matt. I then randomly sprayed a fine filter of very thin white over the whole model to give some random shading and also to simulate sun bleaching. This was followed by a fine post shade of black/brown mix to pick out the major panel lines.

I then applied some final weathering. Exhaust staining was done with brown pastels and enhanced with a fine black/brown spray. A few oil streaks were applied with burnt umber oil paint and some dark grey dry brushing to dirty up the cowling and underbelly areas. Finally, a little red/brown pastel was rubbed into the wheels and lower extremities to simulate a bit of desert sand and grit.
Despite the couple of gripes, I really cannot complain too much about this kit. It is simply superb in all other respects. Crisp, finely detailed, accurate and fitting together like a dream. Everything a kit should be. I hope Eduard continue to invest in new moulds as this truly is state of the art modelling. Their new Spitfire IXc has already set the industry ablaze and I am looking forward to getting my hands on one.


