
 Airfix first pushed out a 1/72 scale TSR-2 in 2006 and followed it with this bigger version in 2009. Now - that is relatively recent in the grand history of plastic kits, but I have to say there is definitely something a bit primitive and early 80s about it, and to be brutally honest I would have expected something a little more refined from a kit of recent vintage. A relatively small parts count, thick plastic, some chunky indistinct mouldings and that terror of Airfix kits at the time (and many since), deep wide panel lines (trenches?) that you could lose your modelling knife in. Looks like it is simply an upscale of the 1/72 kit, however the word on the street is that this was designed as 1/48 initially and down scaled for the initial 1/72 version.


As per my customers wishes, all panels, air brakes and bomb bay were sealed closed. If you want to show them open, you WILL need some aftermarket help. Although I have to say the central wheel bays are a pretty good effort by Airfix. Effort that is sadly lacking in other areas unfortunately.
Interestingly, this is one of the few jet models that doesn't need any nose weight! This is thanks to the sheer length of the forward section the centre of gravity is well forward of the main wheels.
Once everything was together, I primed and painted all over in white. The kit decals are pretty good, maybe lacking some of the finer stencils but they worked well for me.
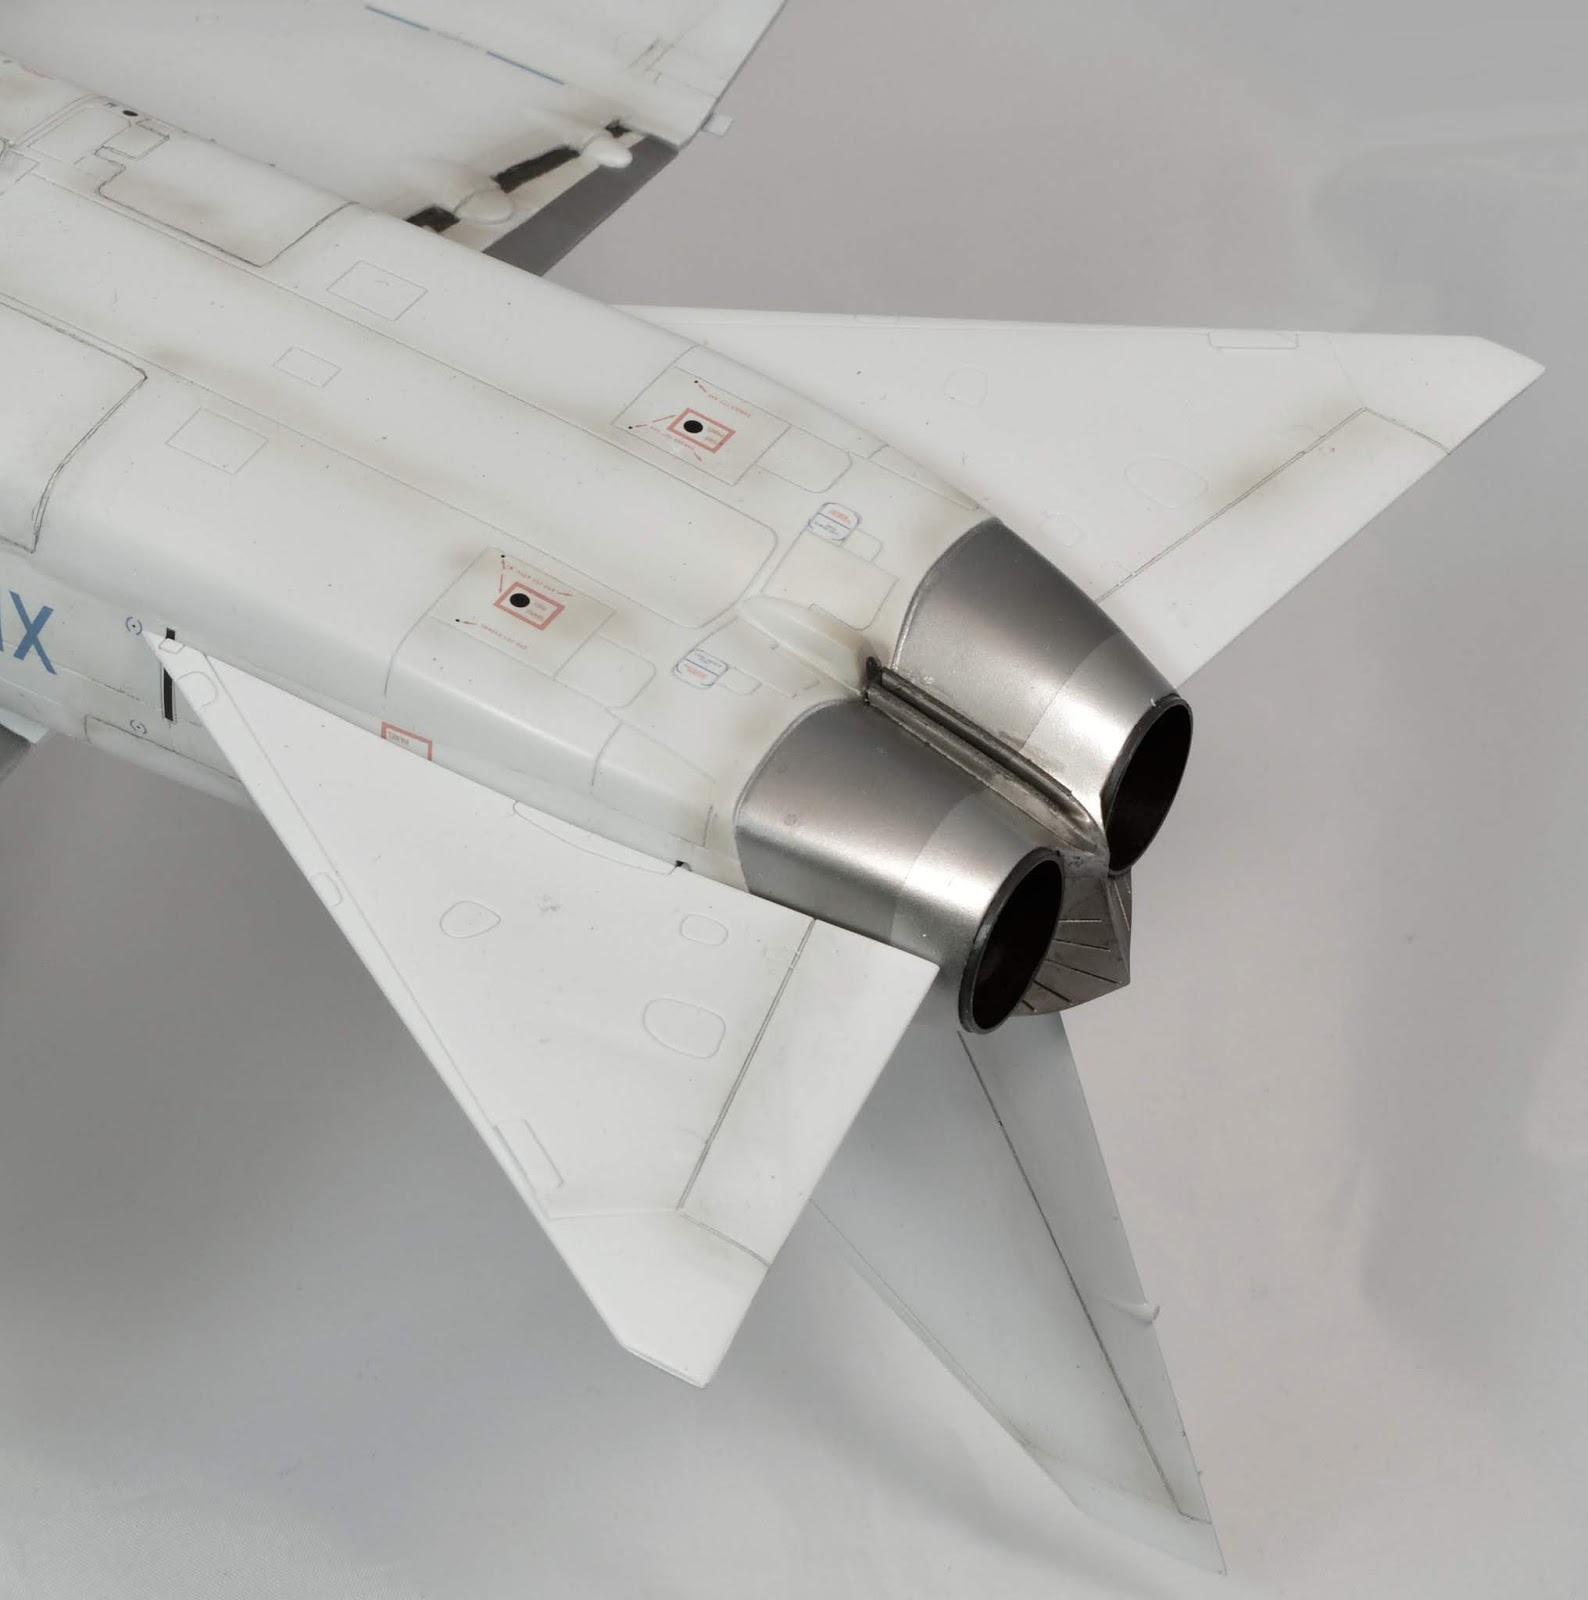
 One problem with an all white model, to my mind, it that it looks boring. And I refused to apply a panel wash as I usually would in this scale, because those panel lines are so intrusive I didn't want to highlight them further and it would probably have ended up looking like a cheap diecast. However I gently outlined the key control surfaces and movable panels with pencil to add a little interest. What's more, photos of the original XR219 showed that it did get weathered a bit, even if only as a result of test flights. So I duly applied a fair amount of weathering until I was satisfied that it looked more like the real aircraft.
 I dressed up the undercarriage with bits from my spares drawer and some brake lines. I used the SAC metal undercarriage set because this is a big model and the extra strength is recommended. SAC legs are great for strength but contrary to popular opinion they very rarely add any detail. They are simply duplicate moulds of the kit parts, mould seam lines and all (really guys? you could make a little effort please), and in this case came with a lot of extra flash that needed removing. The kit (or SAC) parts aren't actually that bad detail wise (with the exception of the calipers which are terrible - I replaced them with spare etch), but the TSR-2 undercarriage is particularly complex and will always benefit from some enhancement. I did try to get hold of some after market help here but none could be located, most sets for this kit are simply no longer available.
So that's pretty much it, all the problems listed here don't in any way detract from the pleasure I had in putting together such a fine model of such an astonishingly striking aircraft, and all credit to Airfix for releasing this kit, despite a few schoolboy errors in it's design.
I hope you enjoy the end result!


No comments:
Post a Comment